In this guide
Autumn and winter children’s footwear should protect against moisture and cold, remain stable on wet or snowy surfaces, and still allow natural movement. Choosing becomes easier when a pair is checked step by step instead of judging it only by size and appearance.
This guide will help you compare mid-season and winter styles, assess the fit, and decide whether footwear suits the climate, everyday routes, and the child’s activity.
Step 1. Define the wearing conditions
Start with a few questions: how long does the child spend outside, how common is slush, how cold are the winters, and will the footwear be used for relaxed journeys or active play?
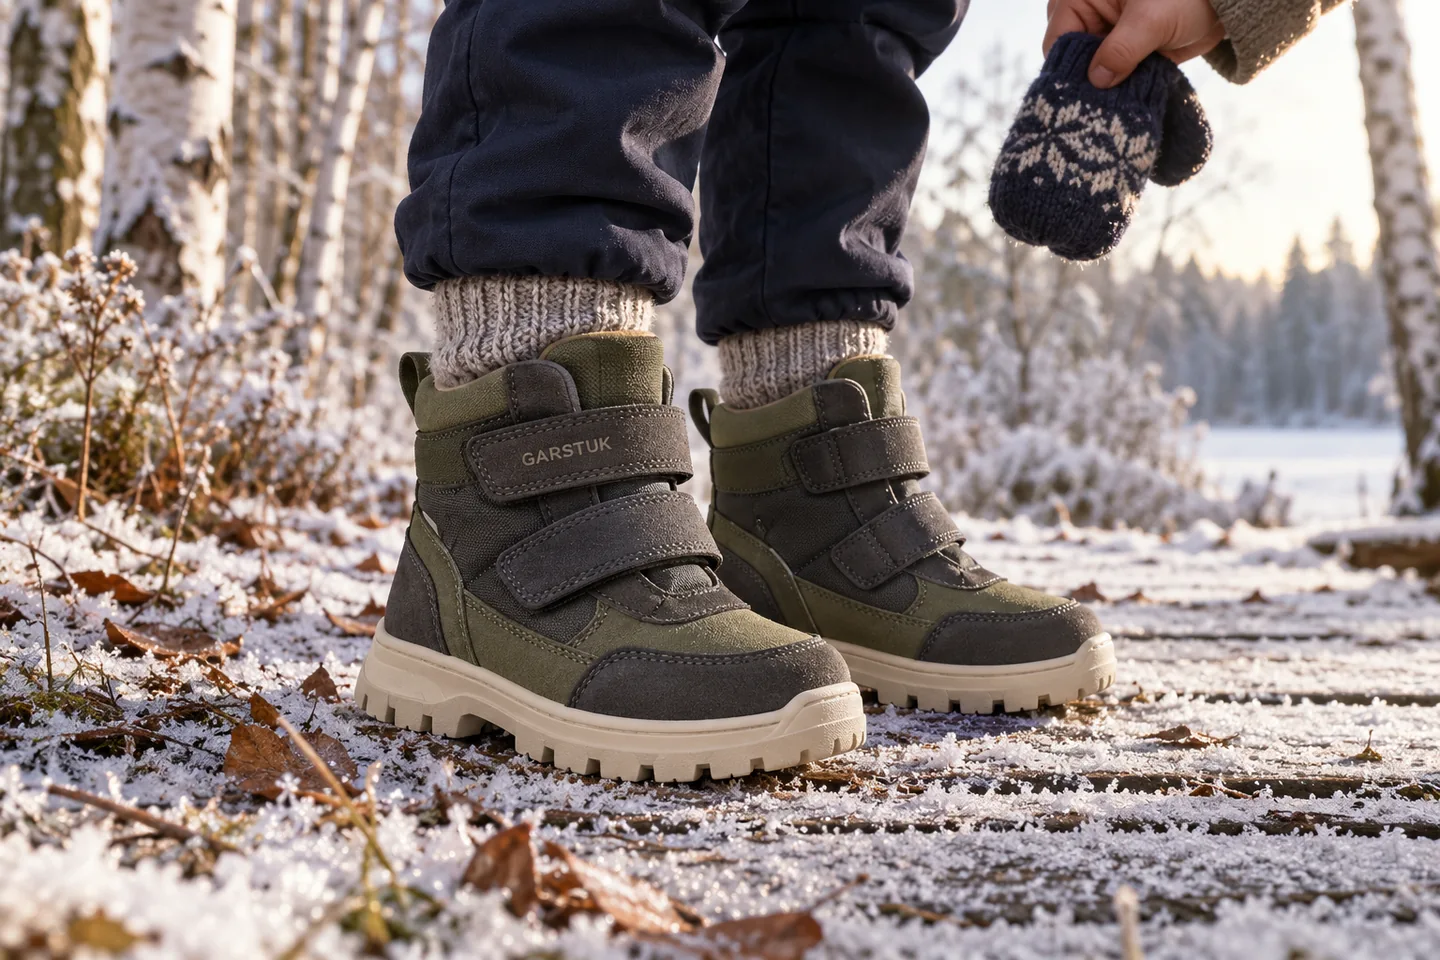
Light boots may be suitable for dry, cool autumn weather. Water resistance and a textured sole matter more in a rainy mid-season. Regular freezing temperatures call for an insulated model designed for the expected temperature and duration of outdoor time.
Step 2. Measure both feet
Measure feet in the evening, when they may be slightly larger than in the morning. The child should stand with weight distributed evenly. Measure from the heel to the longest toe and use the larger foot as your reference.
Compare the result with the size chart for the specific model. The same stated size can have a different internal length and width between manufacturers.
Step 3. Allow sensible growing room
Toes need space to move and retain warm air, but too much extra room reduces support. The foot begins to slide, the child tires more quickly, and stumbling becomes more likely.
Consider the thickness of the sock and the construction of the insulation. The suitable allowance depends on the model, so follow the manufacturer’s guidance and check the fit while walking instead of buying several sizes too large “to grow into”.
Step 4. Check the upper and moisture protection
For autumn slush, water-resistant materials, neat seams, and a construction that limits water entering through the fastening area are useful. Remember that waterproofing and breathability are different properties.
Even membrane footwear needs proper care. Remove dirt promptly and choose protective products for the specific material. Fully rubber footwear is useful for puddles but is generally not designed for long periods in a warm building.
Step 5. Assess the insulation
Insulation should match both the weather and the child’s activity. Footwear that is too warm in mild conditions can cause overheating and moisture, while insufficient insulation will not stay comfortable during a long walk.
Inspect the lining: it should lie flat without rough seams or folds. A removable insole makes drying easier and helps you monitor the condition inside the shoe.
Step 6. Examine the sole
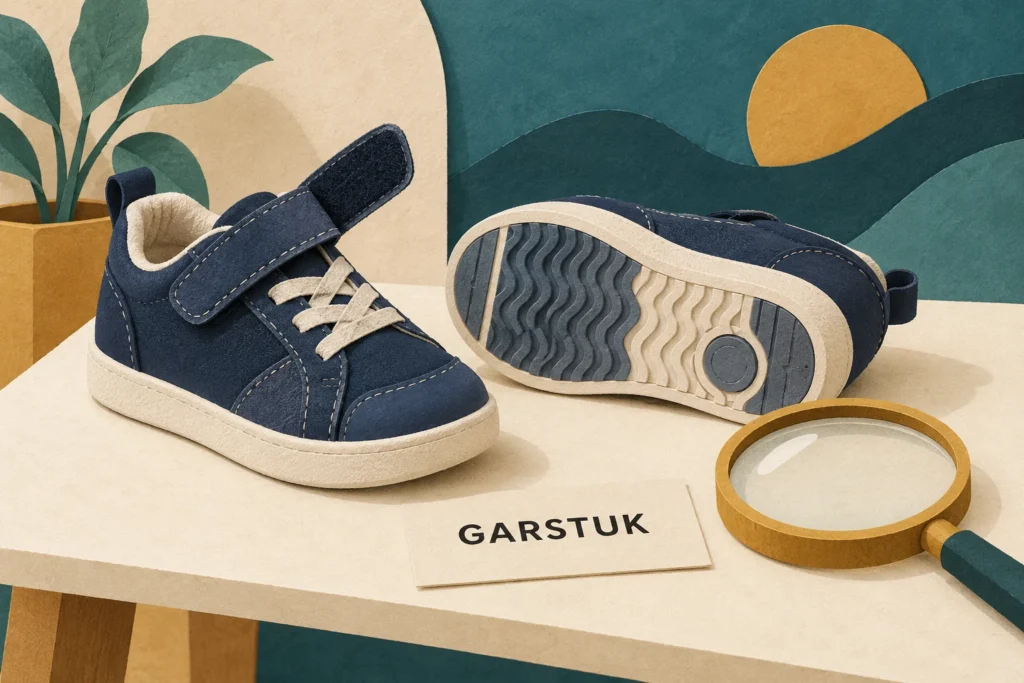
Wet pavement, snow, and compacted paths require a sole with a clear tread pattern. It should flex sufficiently at the forefoot but should not twist freely in every direction.
Consider the weight of the pair. A chunky sole may look protective, but footwear that is too heavy increases effort and restricts easy movement.
Step 7. Choose a practical fastening
Hook-and-loop straps suit children who change shoes independently. Laces allow more precise volume adjustment but require skill and supervision. A zip should move smoothly, and the inner guard should protect the sock from the slider.
Once fastened, the heel should stay secure and the upper should not press on the instep. Check whether the child can put on and remove the pair without lengthy adult assistance.
Step 8. Try the footwear on correctly
Try on both shoes with the socks the child will wear during the season. Ask the child to walk, turn, squat, and rise onto their toes.
- the toes do not touch the front;
- the heel does not slip;
- there is no pressure over the instep;
- the child does not shuffle or change their gait;
- there are no pronounced pressure marks after fitting.
Step 9. Plan for drying and indoor shoes
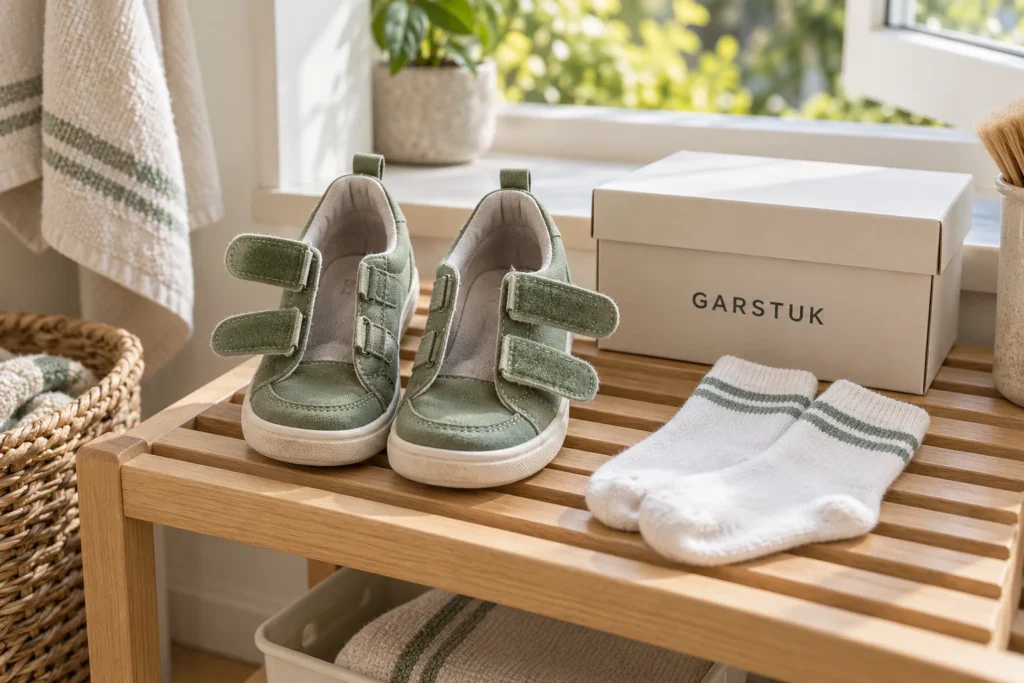
In autumn and winter, footwear regularly becomes damp from weather and natural moisture. Dry it at room temperature after removing the insoles and opening the fastenings fully. Do not place the pair directly beside a radiator or heater.
If the child spends the day at school or nursery, prepare lightweight indoor shoes. Winter boots can become too hot inside.
What to check before paying
- The model suits the weather and activity.
- The length and width of both feet.
- The fit with seasonal socks.
- Heel security and toe room.
- Sole grip, flexibility, and weight.
- The quality of the lining, insole, and fastening.
- The manufacturer’s care recommendations.
Conclusion
Good autumn-winter footwear suits the child’s foot length and width, matches the weather, protects from moisture, and allows easy movement. Do not choose only by age, a familiar size, or the thickness of the insulation — the final decision should always be confirmed by fitting.
Compare styles in the GARSTUK catalogue and save our guide to cleaning, drying, and storing children’s footwear.