In this guide
Children’s feet grow unevenly: the size may hardly change for several months and then shoes suddenly become tight. A child cannot always describe discomfort accurately, so parents should regularly check the fit, the condition of the footwear, and changes in gait.
Below are signs that help identify the problem in time, along with a simple way to check size at home without guessing or buying a pair that is excessively large.
Why the printed size alone is not enough
Sizing can differ between manufacturers. Two pairs marked with the same size may have different internal lengths, toe-box widths, and instep heights. Insulation, thick lining, and seasonal socks also reduce the usable internal volume.
It is more reliable to assess the actual pair on the child’s feet: check toe space, heel hold, pressure at the sides, and comfort while moving.
Nine signs that shoes have become too small
1. The toes touch the front
Ask the child to stand evenly and gently move their toes. If the toes are compressed, curled, or touch the front, the internal length is no longer sufficient.
2. Noticeable marks remain on the skin
Inspect the feet after wear. Red lines over the instep, at the sides, or near the toes may indicate pressure. A single faint sock mark does not always mean there is a problem, so assess it together with other signs.
3. The child does not want to wear a familiar pair
If previously comfortable shoes suddenly cause resistance, check the size, seams, insole, and whether anything is trapped inside. Young children often express discomfort through behaviour rather than words.
4. The shoes have become difficult to fasten
Hook-and-loop straps only close at the edge, the zip needs force, or the laces must be loosened considerably. The reason may be not only length but also a change in foot width or a thicker seasonal sock.
5. The heel counter or sides become distorted
When there is not enough room, the heel counter may collapse and the material at the sides may stretch noticeably. Check whether the shape of the pair has changed and whether the insole has shifted.
6. The child’s gait has changed
The child begins to shuffle, places the feet differently, tires more quickly, or asks to be carried more often. These changes can have different causes, but checking the footwear is a simple and important first step.
7. Chafing appears
Repeated chafing near the toes, heel, or sides needs attention. Inspect the internal seams and make sure the sock lies smoothly and the footwear has not become too short or narrow.
8. The insole shows the limits of the foot
If the insole is removable, take it out and ask the child to stand on it. The toes should not extend beyond the edge, and the widest part of the foot should align with the wide part of the insole. This method is a useful clue but does not replace trying the shoes while moving.
9. The foot has clearly grown since the last check
Even without complaints, repeat the measurement if several months have passed or there has been a noticeable growth spurt. The appropriate checking frequency depends on age and individual growth.
How to measure a child’s foot at home
- Measure in the evening while the child wears the socks intended for the footwear.
- Place both feet on a sheet of paper with weight distributed evenly.
- Mark the back of the heel and the end of the longest toe.
- Measure the straight-line distance and use the larger foot as the reference.
- Compare the result with the sizing chart for the exact model.
Do not add extra space automatically. The appropriate allowance depends on the construction, season, and manufacturer’s guidance. An excessively large pair reduces stability just as tight footwear restricts toe movement.
How to perform a final fitting check
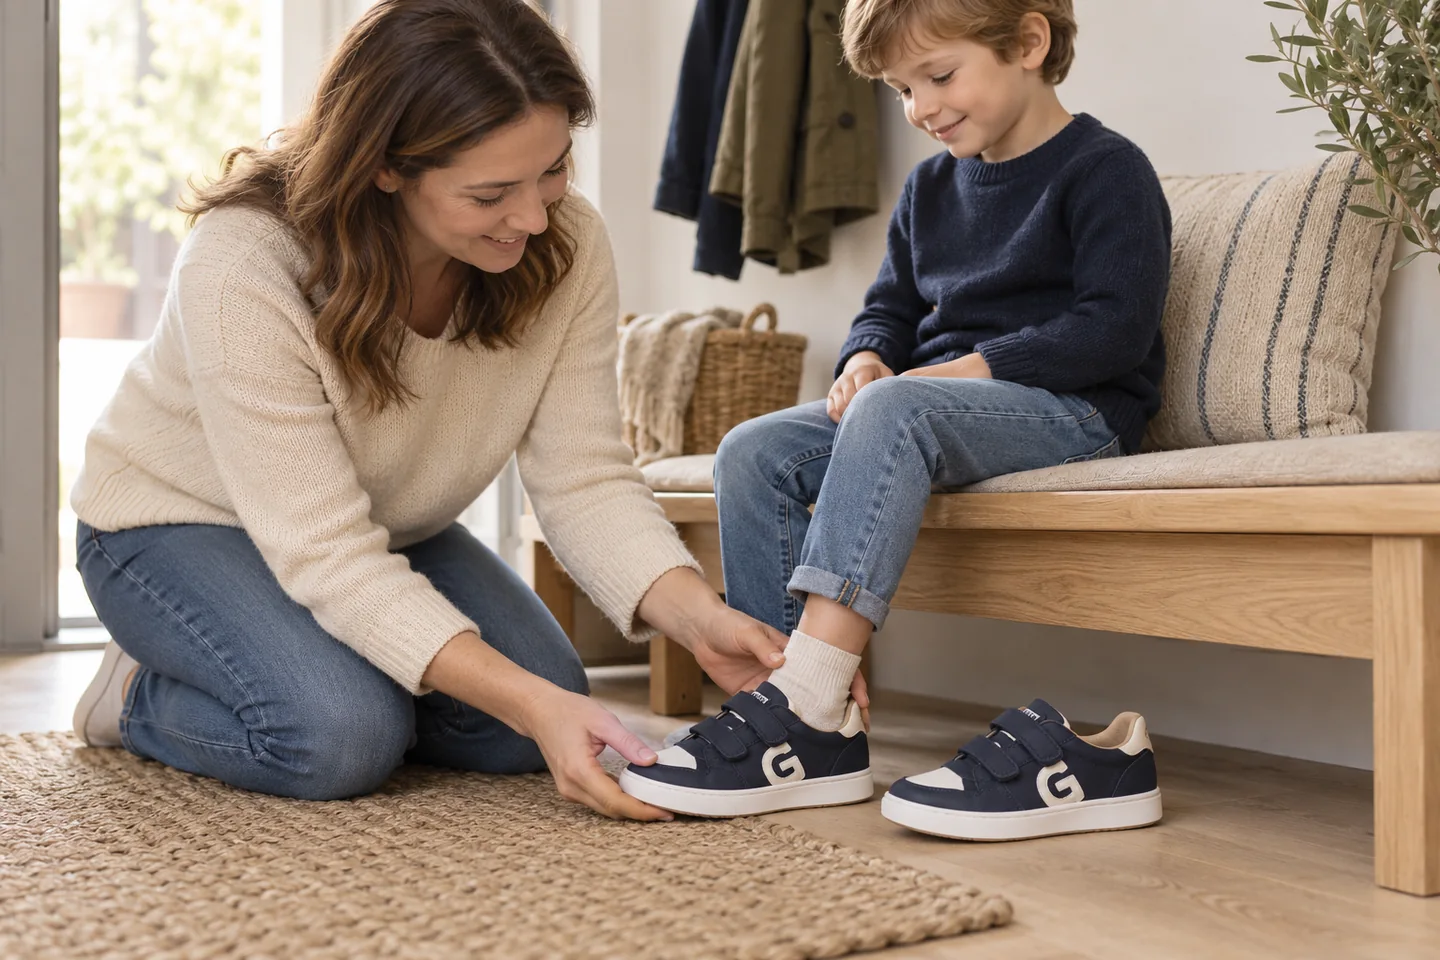
Try on both shoes and fasten them completely. Ask the child to walk, turn, squat, and step up. The heel should remain secure, the toes should move freely, and the upper should not press over the instep.
After a few minutes, ask again about comfort and inspect the feet. Do not judge length only by pressing the toe from outside: dense material and a protective toe cap can make it difficult to locate the toes accurately.
When the pair should be replaced
Replace the footwear if there is insufficient toe space, pressure persists, the fastening no longer provides proper hold, or the child changes their gait. Do not wait until the pair becomes completely uncomfortable: timely replacement supports natural movement and comfort.
Compare suitable styles in the GARSTUK catalogue and read our step-by-step guide to choosing autumn and winter footwear.