In this guide
A scuffed toe, a fastening that no longer holds and a separating sole call for different decisions. Start by describing where the change is, what happens during ordinary use and whether it bothers the child. Inspection helps you prepare a useful question for the seller or repairer; repairability depends on the actual pair.
Inspect the whole clean, dry pair
Put both shoes together in good light. If dirty, clean them by a permitted method and allow them to dry first. Look at the upper, heel area, fastening attachments and join between upper and sole. Do not pull joins apart to test their strength.
Identify the change: a surface mark, torn material, an open seam or a separating component. If a part is coming away or the shoe can no longer be handled normally, set the pair aside for assessment. A clear daylight photograph communicates more than “the shoe is broken”.
Check whether the fastening still works
Open and close it normally without extra force. Look at the strap, laces, loops and accessible attachment points. Distinguish dirt that may be removable using permitted care from damage to the mechanism or the place it joins the upper.
If the usual adjustment no longer holds the shoe securely, investigate fit as well as fastening condition. Record when the strap opens or the zip stops moving. Our fastenings guide helps identify the mechanism when making an enquiry.
Look inside the accessible areas
Open the shoe fully and inspect the lining, heel edge and visible seams. Check for objects that may have fallen inside. Do not sweep a hand blindly through an area where a sharp object is suspected, or pull out a glued-in insole to investigate.
Describe a fold, tear or raised edge and where it sits. If the child reports pressure there, stop using the pair while the cause is assessed. Insole replacement has its own requirements; read our insole guide before considering a change.
Examine the outsole and joins
Look at both outsoles, their edges and the joins to the upper. Note visible cracking, edge separation, a worn patch of tread or a changed shape. A home visual inspection does not measure grip or establish suitability for ice, sport or another demanding surface.
A wear pattern by itself cannot diagnose a condition or explain a child’s gait. New symptoms, pain or changes in walking need professional assessment. With separation, a suspected puncture or another concerning defect, set the pair aside rather than testing how long it holds together on the child’s feet.
Consider size as a separate question
Repairing a fastening or surface cannot create space for a growing foot. If there is no damage preventing a safe fitting, assess both shoes with the usual socks. Consider the child’s comfort and the actual fit as well as how long the pair has been owned.
Dorset HealthCare advises measuring the length and width of both feet. If the pair is now too small, consider a suitable replacement. Our signs that shoes have been outgrown guide supports that check.
Prepare a specific repair enquiry
Share the style code, how long the pair has been used, the change noticed and the care method used. Include an overall view, both soles and a close-up of the affected area. Ask whether the component’s function can be restored, which parts the work will affect and how the result should be checked.
For prescribed orthopaedic footwear, contact the service that supplied it. Guy’s and St Thomas’ NHS guidance advises discussing damage and repairs with the specialist so that changes remain consistent with the prescription. Replacement is discussed if repair is not possible. Agree any work with that service before using another repairer.
Check the result before normal use resumes
Confirm what was done and when the pair can be used. Inspect the worked area, fastening operation and interior. Check the fit of both shoes before returning to normal wear, and contact the repairer again if damage recurs or the child reports discomfort.
If the pair causes a friction blister, the NHS advises avoiding the footwear that caused it until it heals. A health concern needs assessment separately from the repair work. Do not promise the child that pain will disappear after a few more outings.
Common questions
Does every scuff mean a pair should be thrown away?
Identify the area and any change in function first. A surface mark and a separating join are different observations; the decision depends on the pair’s condition and fit.
Can a sole photograph explain the cause of wear?
It helps describe a change, but cannot replace inspection or establish a medical cause.
Is there a universal lifespan in months?
This guide sets no fixed lifespan. Consider condition, use, surroundings, foot growth and the style’s instructions.
What to send GARSTUK
Collect the style code, photographs and a short description, such as “the strap opens during ordinary steps” or “the sole edge has separated at the toe”. Contact GARSTUK on WhatsApp to clarify model information and the next step. Service arrangements are confirmed for the particular enquiry.
Sources
- Dorset HealthCare: children’s footwear and measuring feet.
- Guy’s and St Thomas’: care and repair of prescribed orthopaedic footwear.
- NHS: blisters.
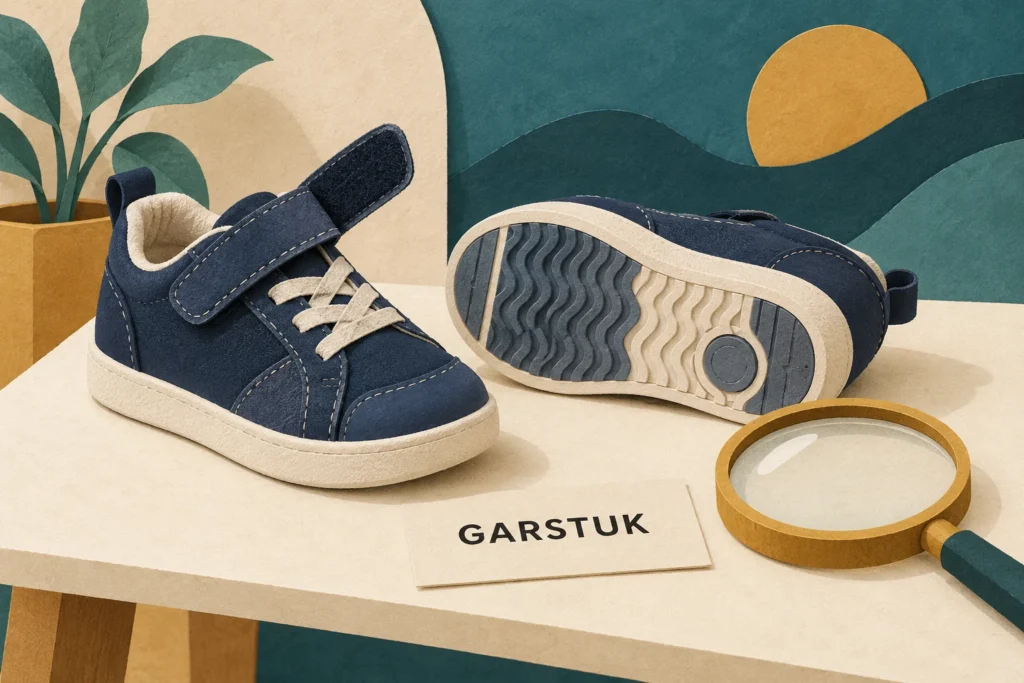
Sources checked on 15 October 2026. The inspection and enquiry workflow is GARSTUK editorial guidance. The AI-generated paper-collage cover does not depict a specific style or a footwear test result.